
Gluten Free Pizza Crust Recipe
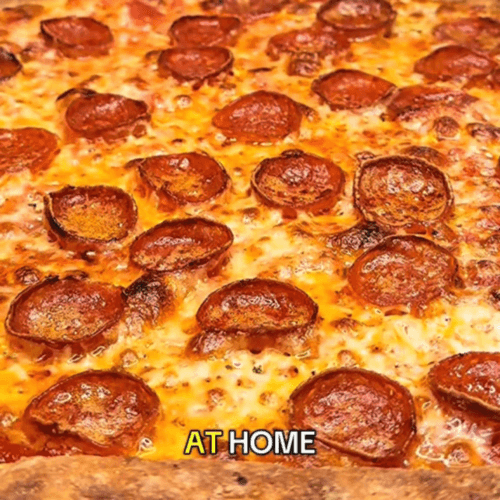
If you’ve been craving real New York–style pizza but need it gluten free, this gluten free pizza crust recipe delivers the closest thing to the real deal, right from your home oven.

The crust bakes up airy inside, crispy on the edges, and sturdy enough to hold your favorite toppings without turning soggy. No complicated techniques, no specialty equipment, just a smart method that works.
Table of Contents
Why This Gluten Free Pizza Crust Works
Gluten-free dough behaves very differently from traditional wheat dough. You can’t stretch it on your knuckles or toss it in the air. Instead, this method focuses on:
- Proper hydration
- A short cold rest for structure
- Par-baking for crispiness
- High heat baking (550°F) for that NY-style texture
The result? A thin crust with a slightly chewy bite and beautifully browned edges.
Ingredients
- 2 ½ cups gluten-free flour blend (with xanthan gum included)
- 1 teaspoon salt
- 1 packet (2 ¼ teaspoons) active dry yeast
- 1 teaspoon sugar
- 1 cup warm water (about 110°F)
- 2 tablespoons olive oil (plus extra for handling)
Step-by-Step Instructions
1. Mix the Dry Ingredients
In a large bowl, combine:
- Gluten-free flour
- Salt
- Yeast
- Sugar
Whisk together until evenly distributed.
2. Add Water and Olive Oil
Pour in the warm water and olive oil.
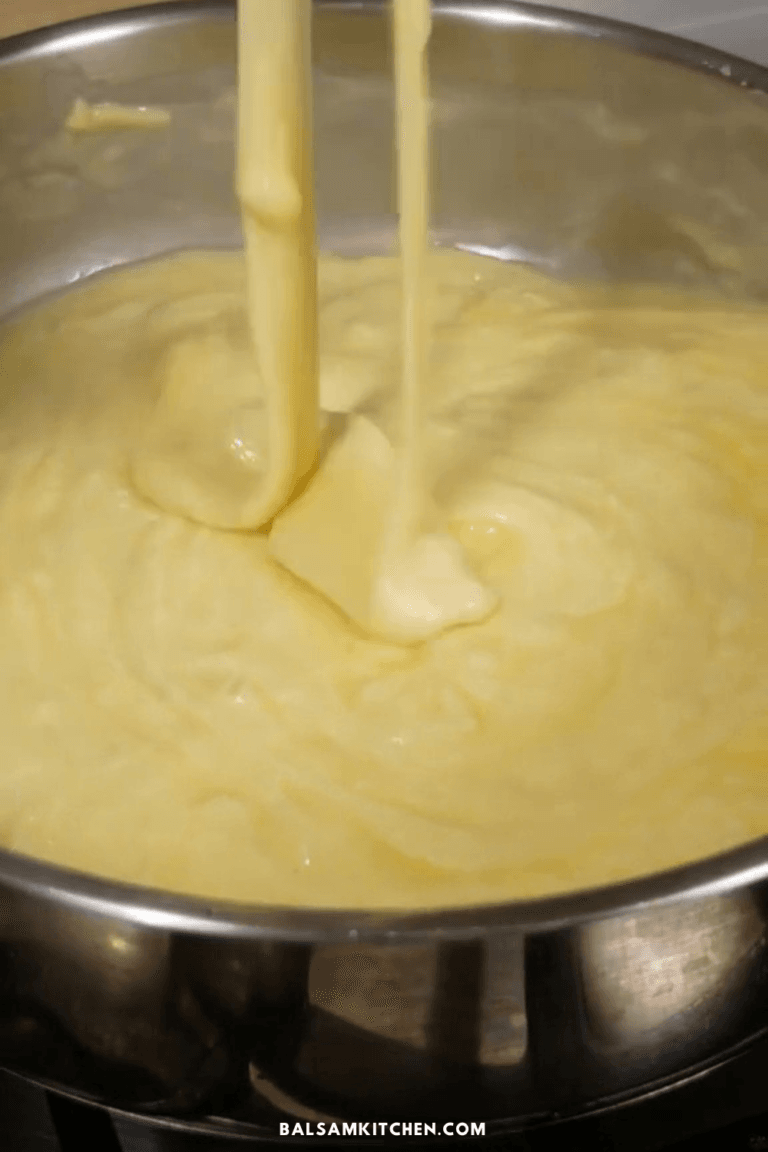
Mix thoroughly until the dough forms a thick paste.
Since gluten-free dough is stickier than traditional dough, mix for 3–5 minutes, working out any clumps to ensure a smooth consistency.
3. Chill the Dough
Cover the bowl and refrigerate for 30 minutes.
This step helps the dough firm up and makes it easier to shape.
After chilling:
- Lightly spray your hands with olive oil.
- Form the dough into a ball.
- Place it back into a container.
- Store in the refrigerator for up to 24 hours if needed.
4. Bring to Room Temperature
Remove the dough from the fridge 1–2 hours before baking.
This allows it to relax and become easier to shape.
How to Shape Gluten-Free Pizza Dough
Unlike traditional dough, this one cannot be stretched in the air.
- Dust your surface generously with gluten-free flour.
- Place the dough in the center.
- Press outward from the middle using your fingers.
- Leave slightly thicker edges for the crust.
- Flip frequently and add flour as needed to prevent sticking.
Aim for a thin base while maintaining structure.
Pre-Bake for a Crispy Crust
Preheat your oven to 550°F (290°C) or as high as your oven allows.
- Brush olive oil lightly around the rim.
- Add a very thin layer of sauce in the center.
- Place directly on a pizza stone or preheated baking surface.
- Par-bake for 6–8 minutes, until the crust begins to brown.
This step prevents sogginess and builds structure.
Add Toppings & Finish Baking
After par-baking:
- Add cheese and desired toppings.
- Return to the oven for another 6 minutes.
- Optional: Finish under broil for 1–2 minutes if you like charred edges.
Watch carefully during broiling to prevent burning.
Pro Tips for the Best Gluten Free Pizza Crust
- Use a high-quality gluten-free flour blend with xanthan gum.
- Don’t overload with sauce — keep it light.
- Preheat your baking surface for maximum crispiness.
- Olive oil on the rim enhances browning.
- Flip the dough frequently while shaping to prevent sticking.
Storage & Make-Ahead Tips
- Dough can be refrigerated up to 24 hours.
- You can par-bake the crust fully, cool it, then freeze for later.
- Reheat baked pizza at 400°F until warmed through.
Related Recipes You’ll Love
If you enjoyed this gluten free pizza crust recipe, try these tasty additions to complete your meal:
- Cheese Bombs – Gooey, cheesy bites perfect as a side or snack with your pizza.
- Garlic Herb Oven-Roasted Vegetables – Flavorful roasted veggies that pair beautifully with any pizza.
Final Thoughts
This gluten free pizza crust recipe proves you don’t need gluten to enjoy a crispy, airy, New York–style pizza at home. With the right technique and high heat, you’ll get a crust that rivals your favorite pizzeria, straight from your own kitchen.
Gluten Free Pizza Crust Recipe
Equipment
- Mixing bowl
- Spoon or spatula
- Measuring cups & spoons
- Pizza stone or baking sheet
- Oven
Ingredients
- 2 ½ cups gluten-free flour blend (with xanthan gum)
- 1 teaspoon salt
- 1 packet (2 ¼ teaspoons) active dry yeast
- 1 teaspoon sugar
- 1 cup warm water (~110°F)
- 2 tablespoons olive oil (plus extra for handling)
Instructions
- Mix dry ingredients: Combine gluten-free flour, salt, yeast, and sugar in a large bowl.
- Add wet ingredients: Pour in warm water and olive oil. Mix into a thick paste, removing clumps.
- Chill dough: Cover and refrigerate for 30 minutes. After chilling, form a ball with lightly oiled hands. Store in fridge up to 24 hours if needed.
- Bring to room temperature: Remove 1–2 hours before baking. Dust surface with flour and press dough outward from center. Keep edges thicker for crust. Flip often to prevent sticking.
- Pre-bake crust: Preheat oven to 550°F. Brush olive oil around rim, add a light layer of sauce. Par-bake 6–8 minutes until edges start browning.
- Add toppings: Add cheese and toppings. Bake another 6 minutes. Optional: broil 1–2 minutes for charred edges.
- Serve: Slice and enjoy
Notes
- Use high-quality gluten-free flour blend for best texture.
- Keep sauce light to avoid soggy crust.
- Dough won’t stretch like regular wheat dough; handle carefully.
- Can freeze par-baked crust for later use.


Leave a Reply