
Festive Pavlova Christmas Tree Recipe | Christmas Recipes
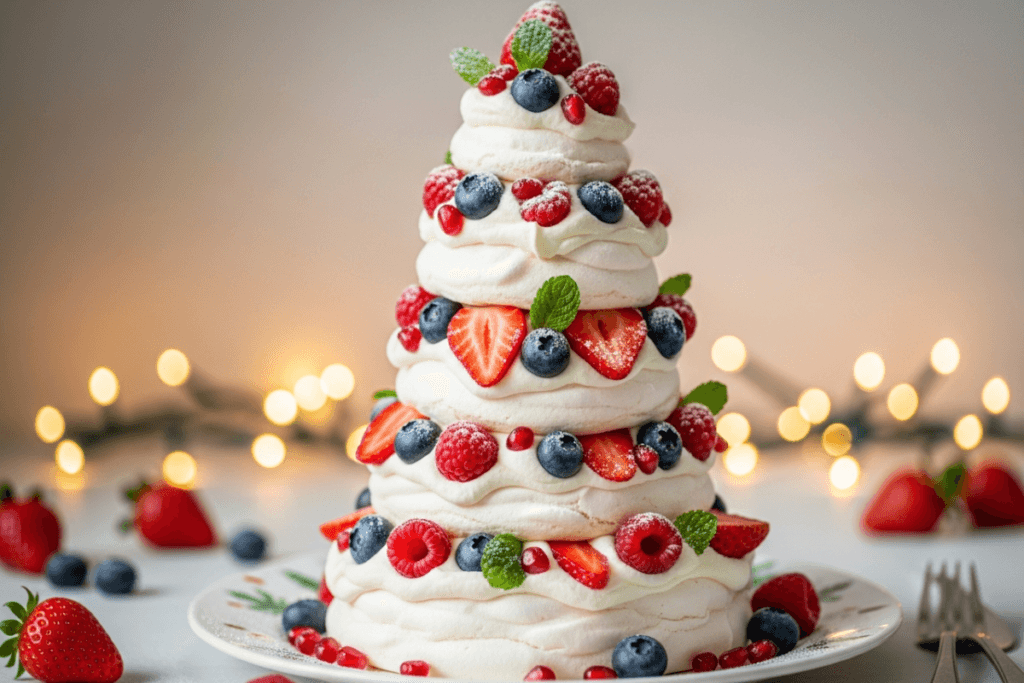
There’s something magical about creating a dessert that feels like a centerpiece—sparkling, elegant, and full of festive cheer. A Pavlova Christmas Tree is exactly that: a stunning holiday showstopper made of stacked mini pavlovas, fresh cream, and vibrant seasonal fruits. Light, crisp, and beautifully decorated, this dessert brings joy before the first bite is even taken.
Whether you’re hosting a Christmas dinner, attending a holiday potluck, or simply want to add a magical touch to your dessert table, this pavlova tree is an easy yet impressive recipe everyone will adore.
Table of Contents
Why You’ll Love This Festive Pavlova Christmas Tree
- Light, airy, and naturally gluten-free
- Gorgeous to look at — perfect for Christmas photos
- Customizable with berries, pomegranate, mint, or edible glitter
- Easy to prepare ahead of time
- Crispy outside, marshmallow-soft inside
Ingredients You’ll Need
For the Mini Pavlovas
- 4 egg whites (room temperature)
- 1 cup granulated sugar
- 1 tsp white vinegar
- 1 tsp cornstarch
- 1 tsp vanilla extract
For the Whipped Cream
- 1 ½ cups cold heavy cream
- 3 tbsp powdered sugar
- 1 tsp vanilla
For Decorating
- Strawberries
- Raspberries
- Blueberries
- Pomegranate seeds
- Fresh mint leaves
- Edible gold dust (optional)
- Powdered sugar for dusting
How to Make a Pavlova Christmas Tree
1. Preheat and Prepare
Preheat your oven to 225°F (110°C). Line a baking sheet with parchment paper.
Draw circles in different sizes (large to small) as a guide for stacking the pavlovas.
2. Whip Your Egg Whites
Using a clean bowl, whip egg whites until soft peaks form.
Slowly add sugar—one tablespoon at a time—until stiff, glossy peaks appear.
3. Add Structure
Gently fold in the vinegar, cornstarch, and vanilla.
This helps the pavlovas hold their shape and stay marshmallowy inside.
4. Shape the Mini Pavlovas
Scoop or pipe the meringue into circular shapes of decreasing size.
You’ll need about 6–8 layers for a tall pavlova tree.
5. Bake Low and Slow
Bake for 1 hour, then switch off the oven and allow the pavlovas to cool inside completely.
6. Make the Whipped Cream
Whip heavy cream, powdered sugar, and vanilla until soft peaks form.
7. Build the Christmas Tree
Start with the largest pavlova.
Add a layer of whipped cream, place the next size on top, and continue stacking.
Decorate each layer with berries, mint, and pomegranate seeds.
8. Add Finishing Touches
Dust with powdered sugar or gold shimmer for a snowy, festive look.
Add a strawberry on top for the “tree topper!”
Tips for the Best Pavlova
- Use room-temperature eggs for better volume.
- Don’t open the oven door while baking.
- Assemble just before serving to keep it crisp.
- Store baked pavlovas in an airtight container for up to 2 days.
Serving Ideas
Your pavlova Christmas tree pairs beautifully with:
- Hot chocolate
- Spiced tea
- Eggnog
- Mulled wine
- Vanilla ice cream on the side
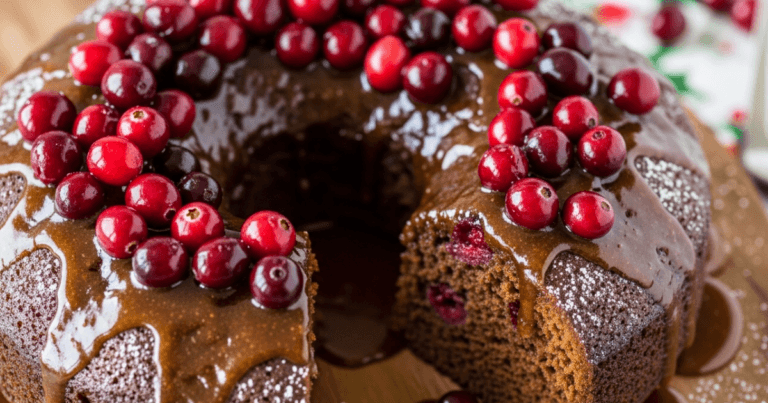
our Festive Pavlova Christmas Tree pairs beautifully with hot chocolate, spiced tea, or eggnog. For another festive dessert idea, check out our Christmas Roll Cake recipe — it’s a soft, creamy, and colorful treat perfect for the holidays
Conclusion
A Festive Pavlova Christmas Tree is more than a dessert—it’s a holiday moment.
Light, elegant, colorful, and simple enough for beginners, it adds sparkle and joy to your Christmas table. Whether shared with family or served at a holiday gathering, this pavlova is guaranteed to be the star of the night.
Leave a Reply