
A Simple Salt Dough Recipe for Handprints You’ll Treasure Forever
This salt dough recipe is one of the easiest and most rewarding crafts you can make at home. With just three basic ingredients and no special equipment, you can create beautiful ornaments, meaningful handprint or footprint keepsakes, and even adorable pet paw prints.
Table of Contents
It’s quick to prepare, budget-friendly, and perfect for families, holidays, or memory-making projects.
Why This Salt Dough Recipe Works So Well
- Made with everyday pantry ingredients
- Easy enough for beginners and kids
- Ideal for ornaments and keepsake crafts
- Can be painted and decorated in endless ways
- Great for hands, feet, or animal paw prints
Ingredients
- ½ cup salt
- ½ cup water
- 1 cup all-purpose flour
Nothing extra required.
Step-by-Step Salt Dough Instructions
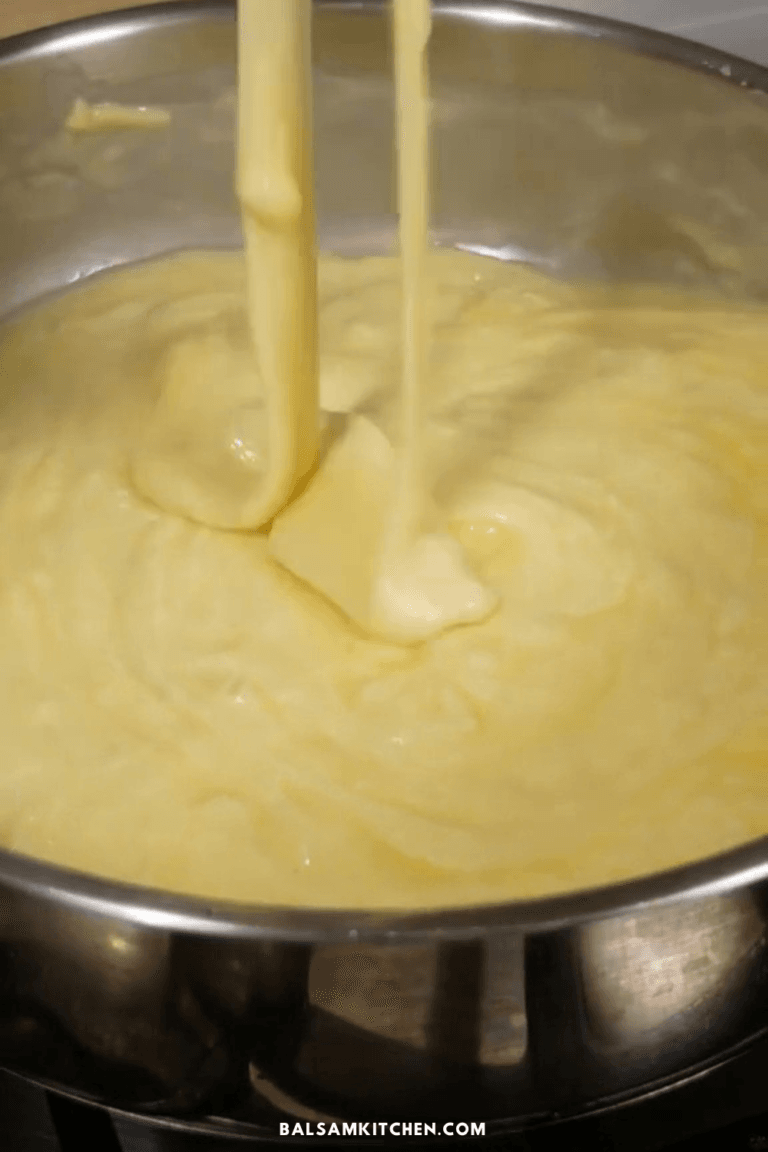
1. Prepare the Dough
Add the salt, water, and flour to a bowl and mix everything together using your hands. Continue mixing until the dough comes together into a smooth, manageable ball that you can easily lift and move.
If the dough feels sticky, sprinkle in a little flour. If it feels dry, add a few drops of water.
2. Roll the Dough Very Thin
Roll the dough out as thinly as possible—this is the key to preventing the dough from puffing up in the oven.
A rolling pin works well, but if you don’t have one, a wine bottle is a perfect substitute.
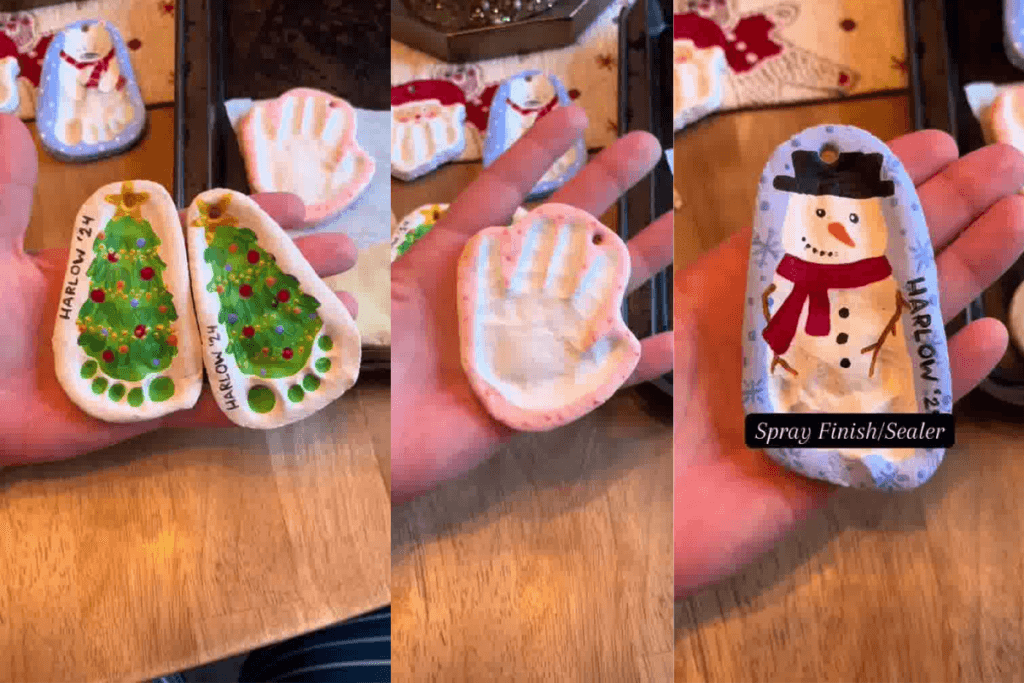
3. Create the Prints
Press hands, feet, or paws firmly into the dough. This step usually works best with two people, especially when working with baby prints.
Don’t worry if some attempts don’t turn out perfectly—it often takes a few tries to get a good one.
Once you have a clear print, cut it out carefully.
Tip: Save the leftover dough. You can roll it out again and repeat the process to make more ornaments.
4. Add a Hanging Hole
Before baking, use a straw or skewer to make a hole at the top of each ornament so it can be hung later.
5. Bake Slowly at a Low Temperature
- Oven temperature: 200°F (95°C)
- Baking time: 2 hours
If you’re making several batches, cut the parchment paper around each piece and move it directly to the baking tray. This helps keep the shapes from stretching or losing detail.
6. Allow Time to Harden
Once baked, the ornaments may look slightly puffed. This is completely normal.
They will continue to harden naturally over the next few days as they cool and dry.
7. Smooth the Surface (Optional)
If there are any rough edges, lightly sand them with fine-grit sandpaper until smooth. This step is especially helpful if you plan to paint the ornaments.
8. Paint and Personalize
You can use any paint you have on hand—there’s no need to buy anything special.
Paint the entire ornament, highlight the prints, or add names and dates to make each piece unique.
Creative Ideas for Salt Dough Ornaments
- Baby handprint keepsakes
- Baby footprint ornaments
- Pet paw print decorations
- Handprint ornaments for a cleaner look
- Holiday-themed shapes and designs
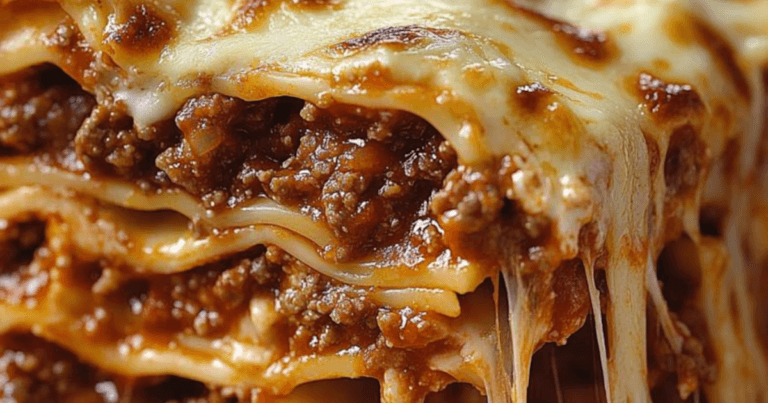
If you’re looking for something festive and impressive, this Tiramisu Yule Log Cake is a wonderful treat to make while your salt dough creations cool and harden. It’s rich, elegant, and perfect for special occasions.
Final Thoughts
This salt dough recipe is simple, flexible, and perfect for turning small moments into lasting memories. It’s less about perfection and more about enjoying the process and creating something meaningful by hand.


Leave a Reply